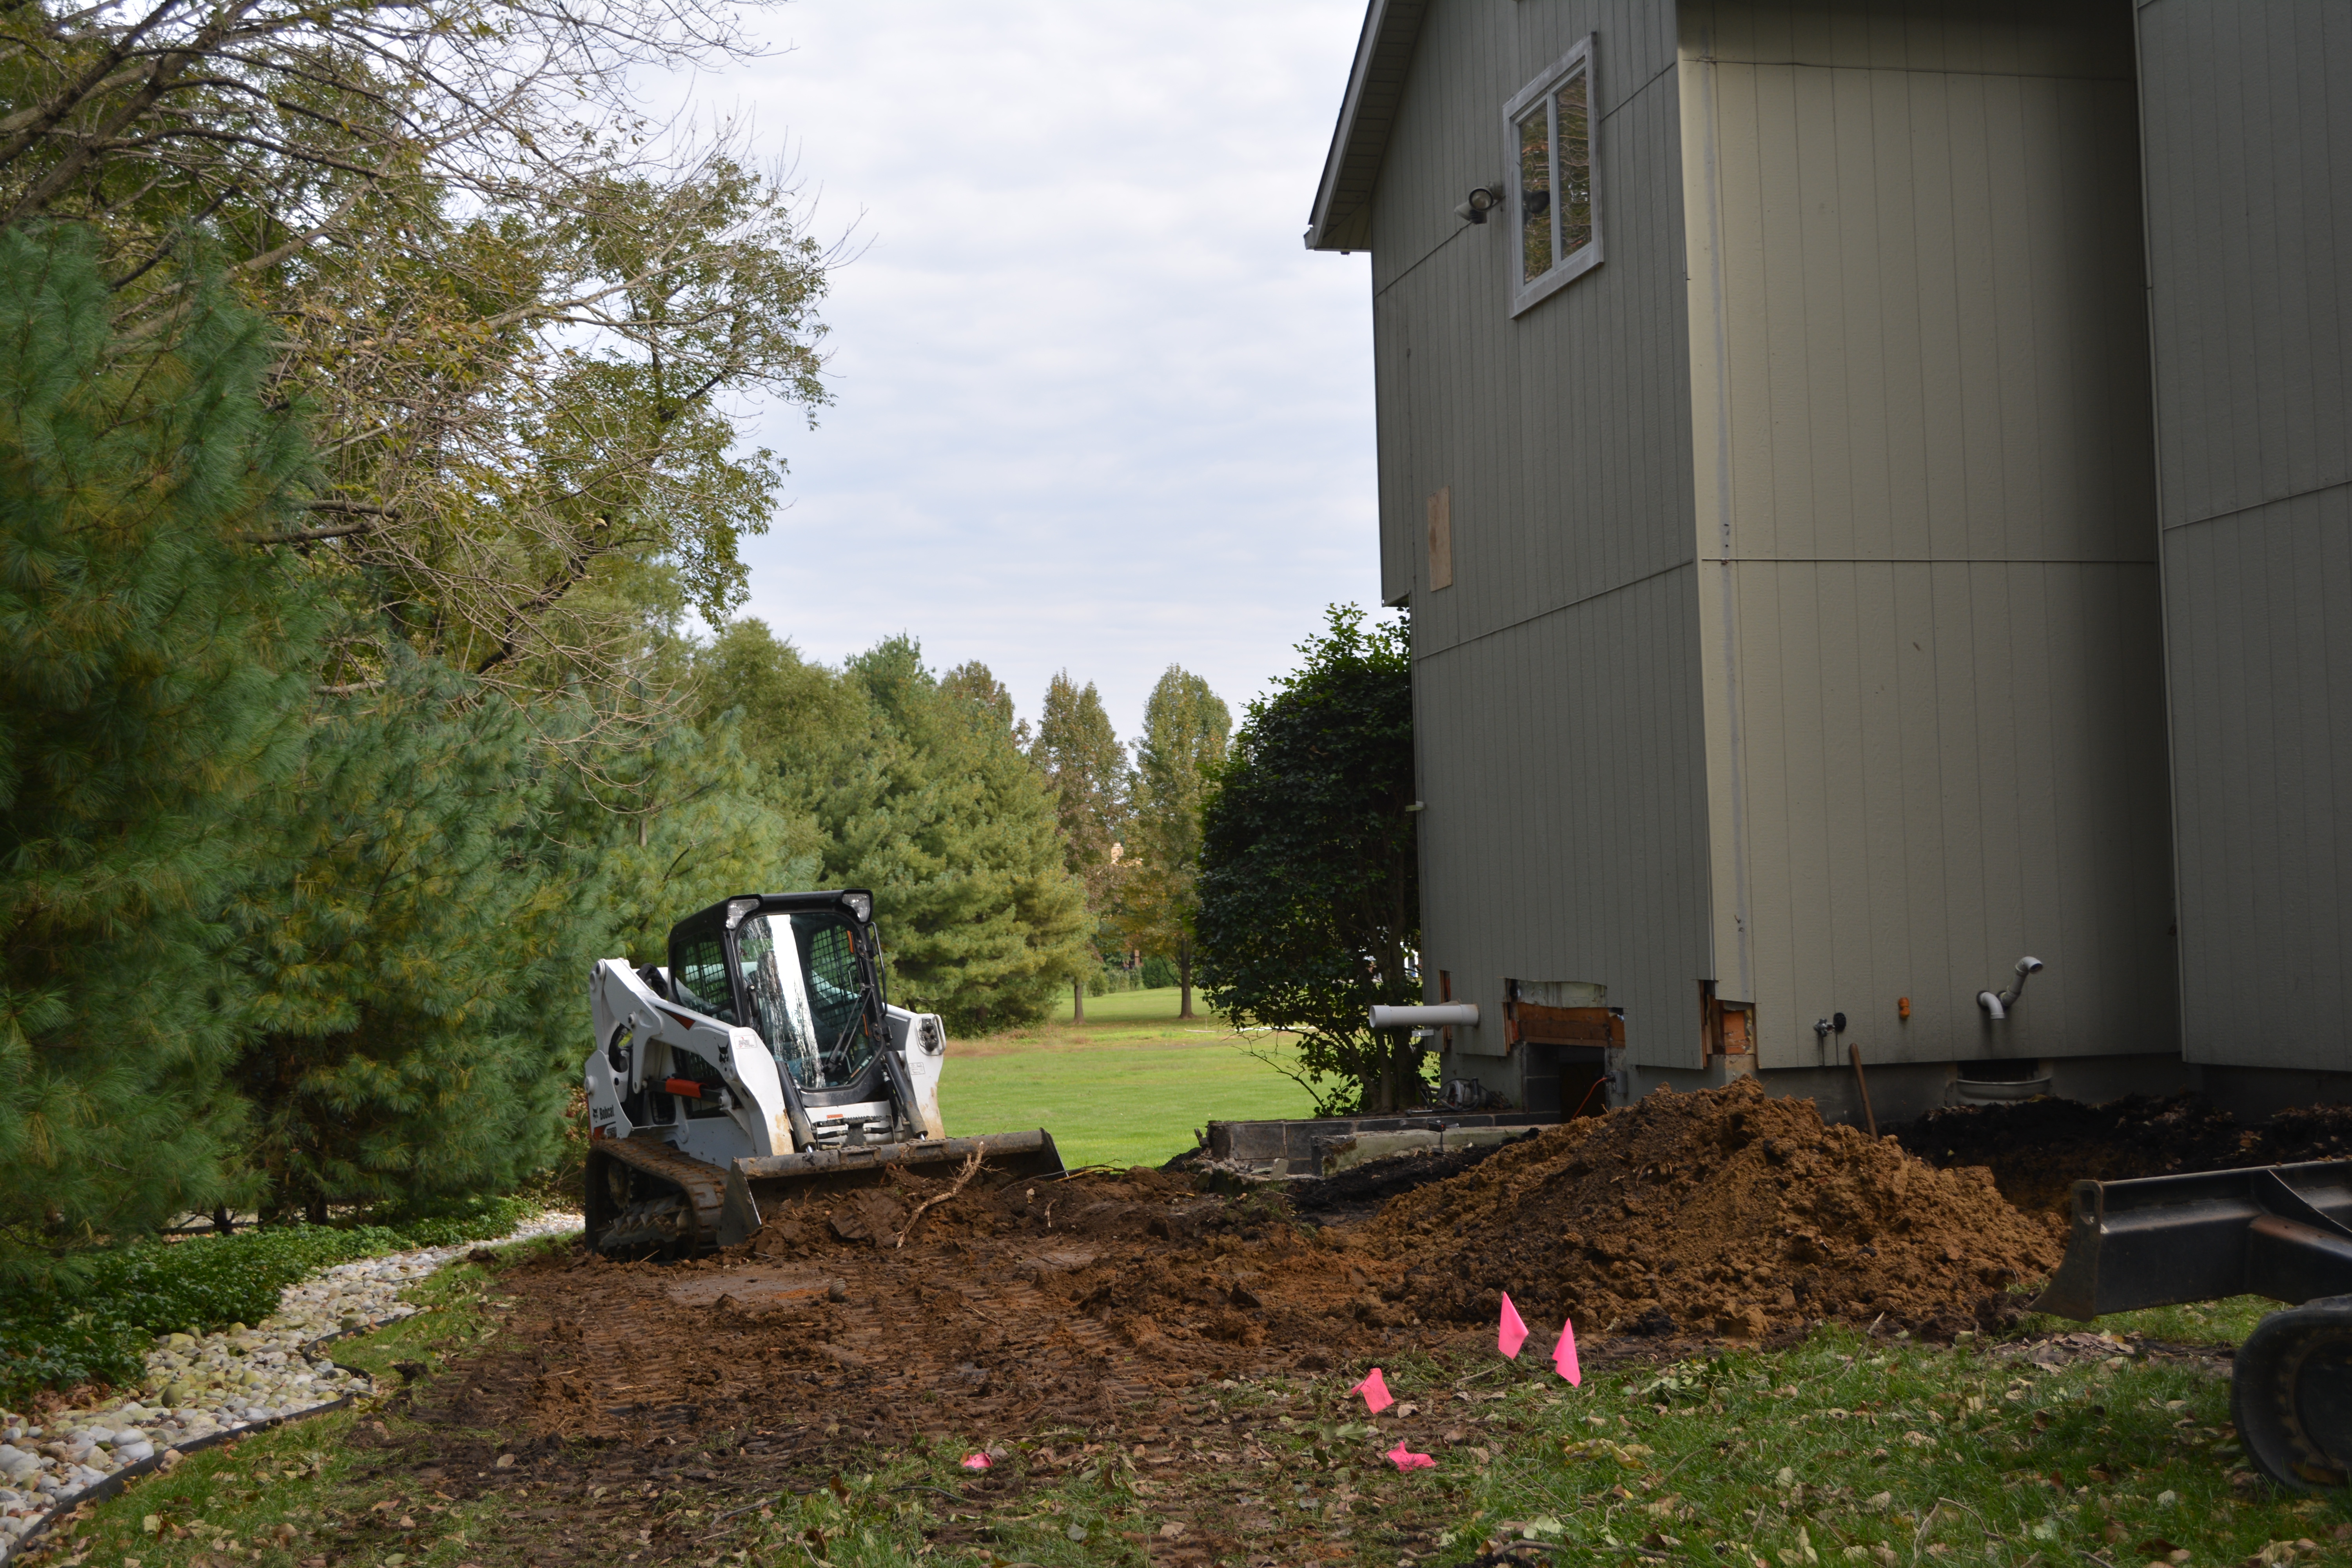
R. Craig Lord Construction company broke ground in Moorestown, NJ as we began the construction of our client’s two-story addition. The completed two story addition will be 20”x30” and provide additional recreation space for the kids on the first floor and work from home offices on the second floor. Plans for the Addition began months ago in our Design Build process which identified the scope and size of the project, as well as selection of the design elements.
Breaking Ground
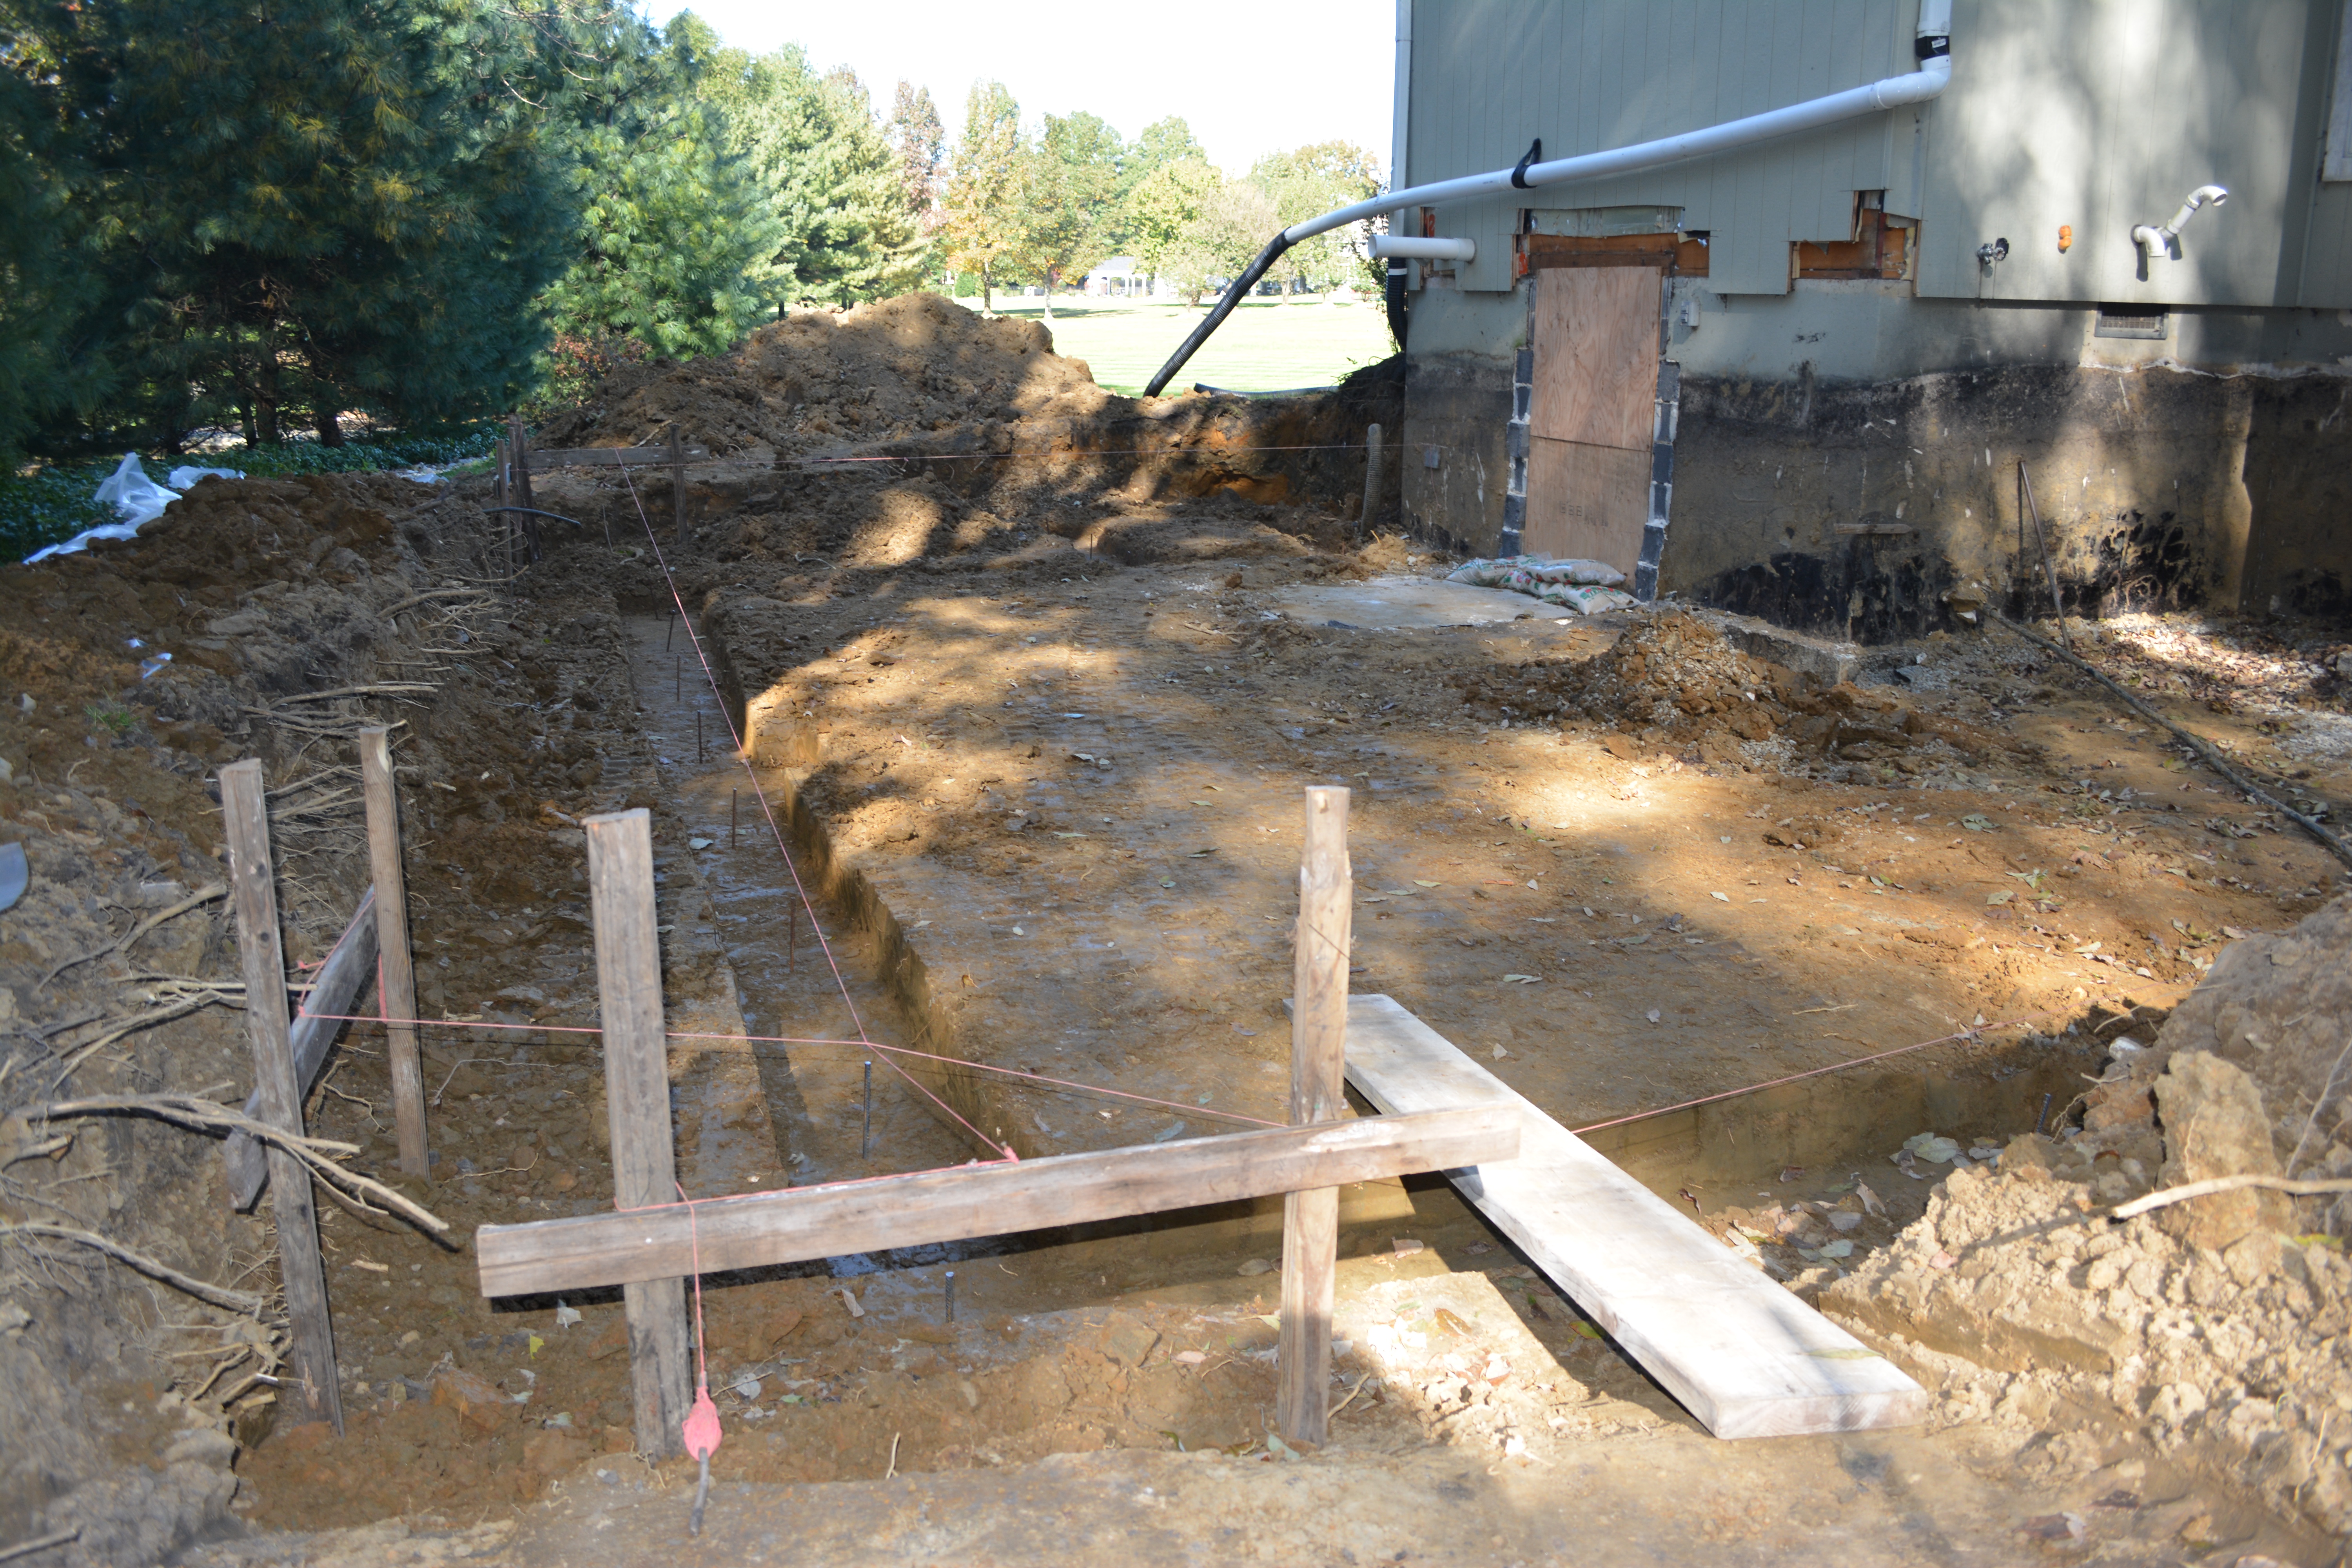
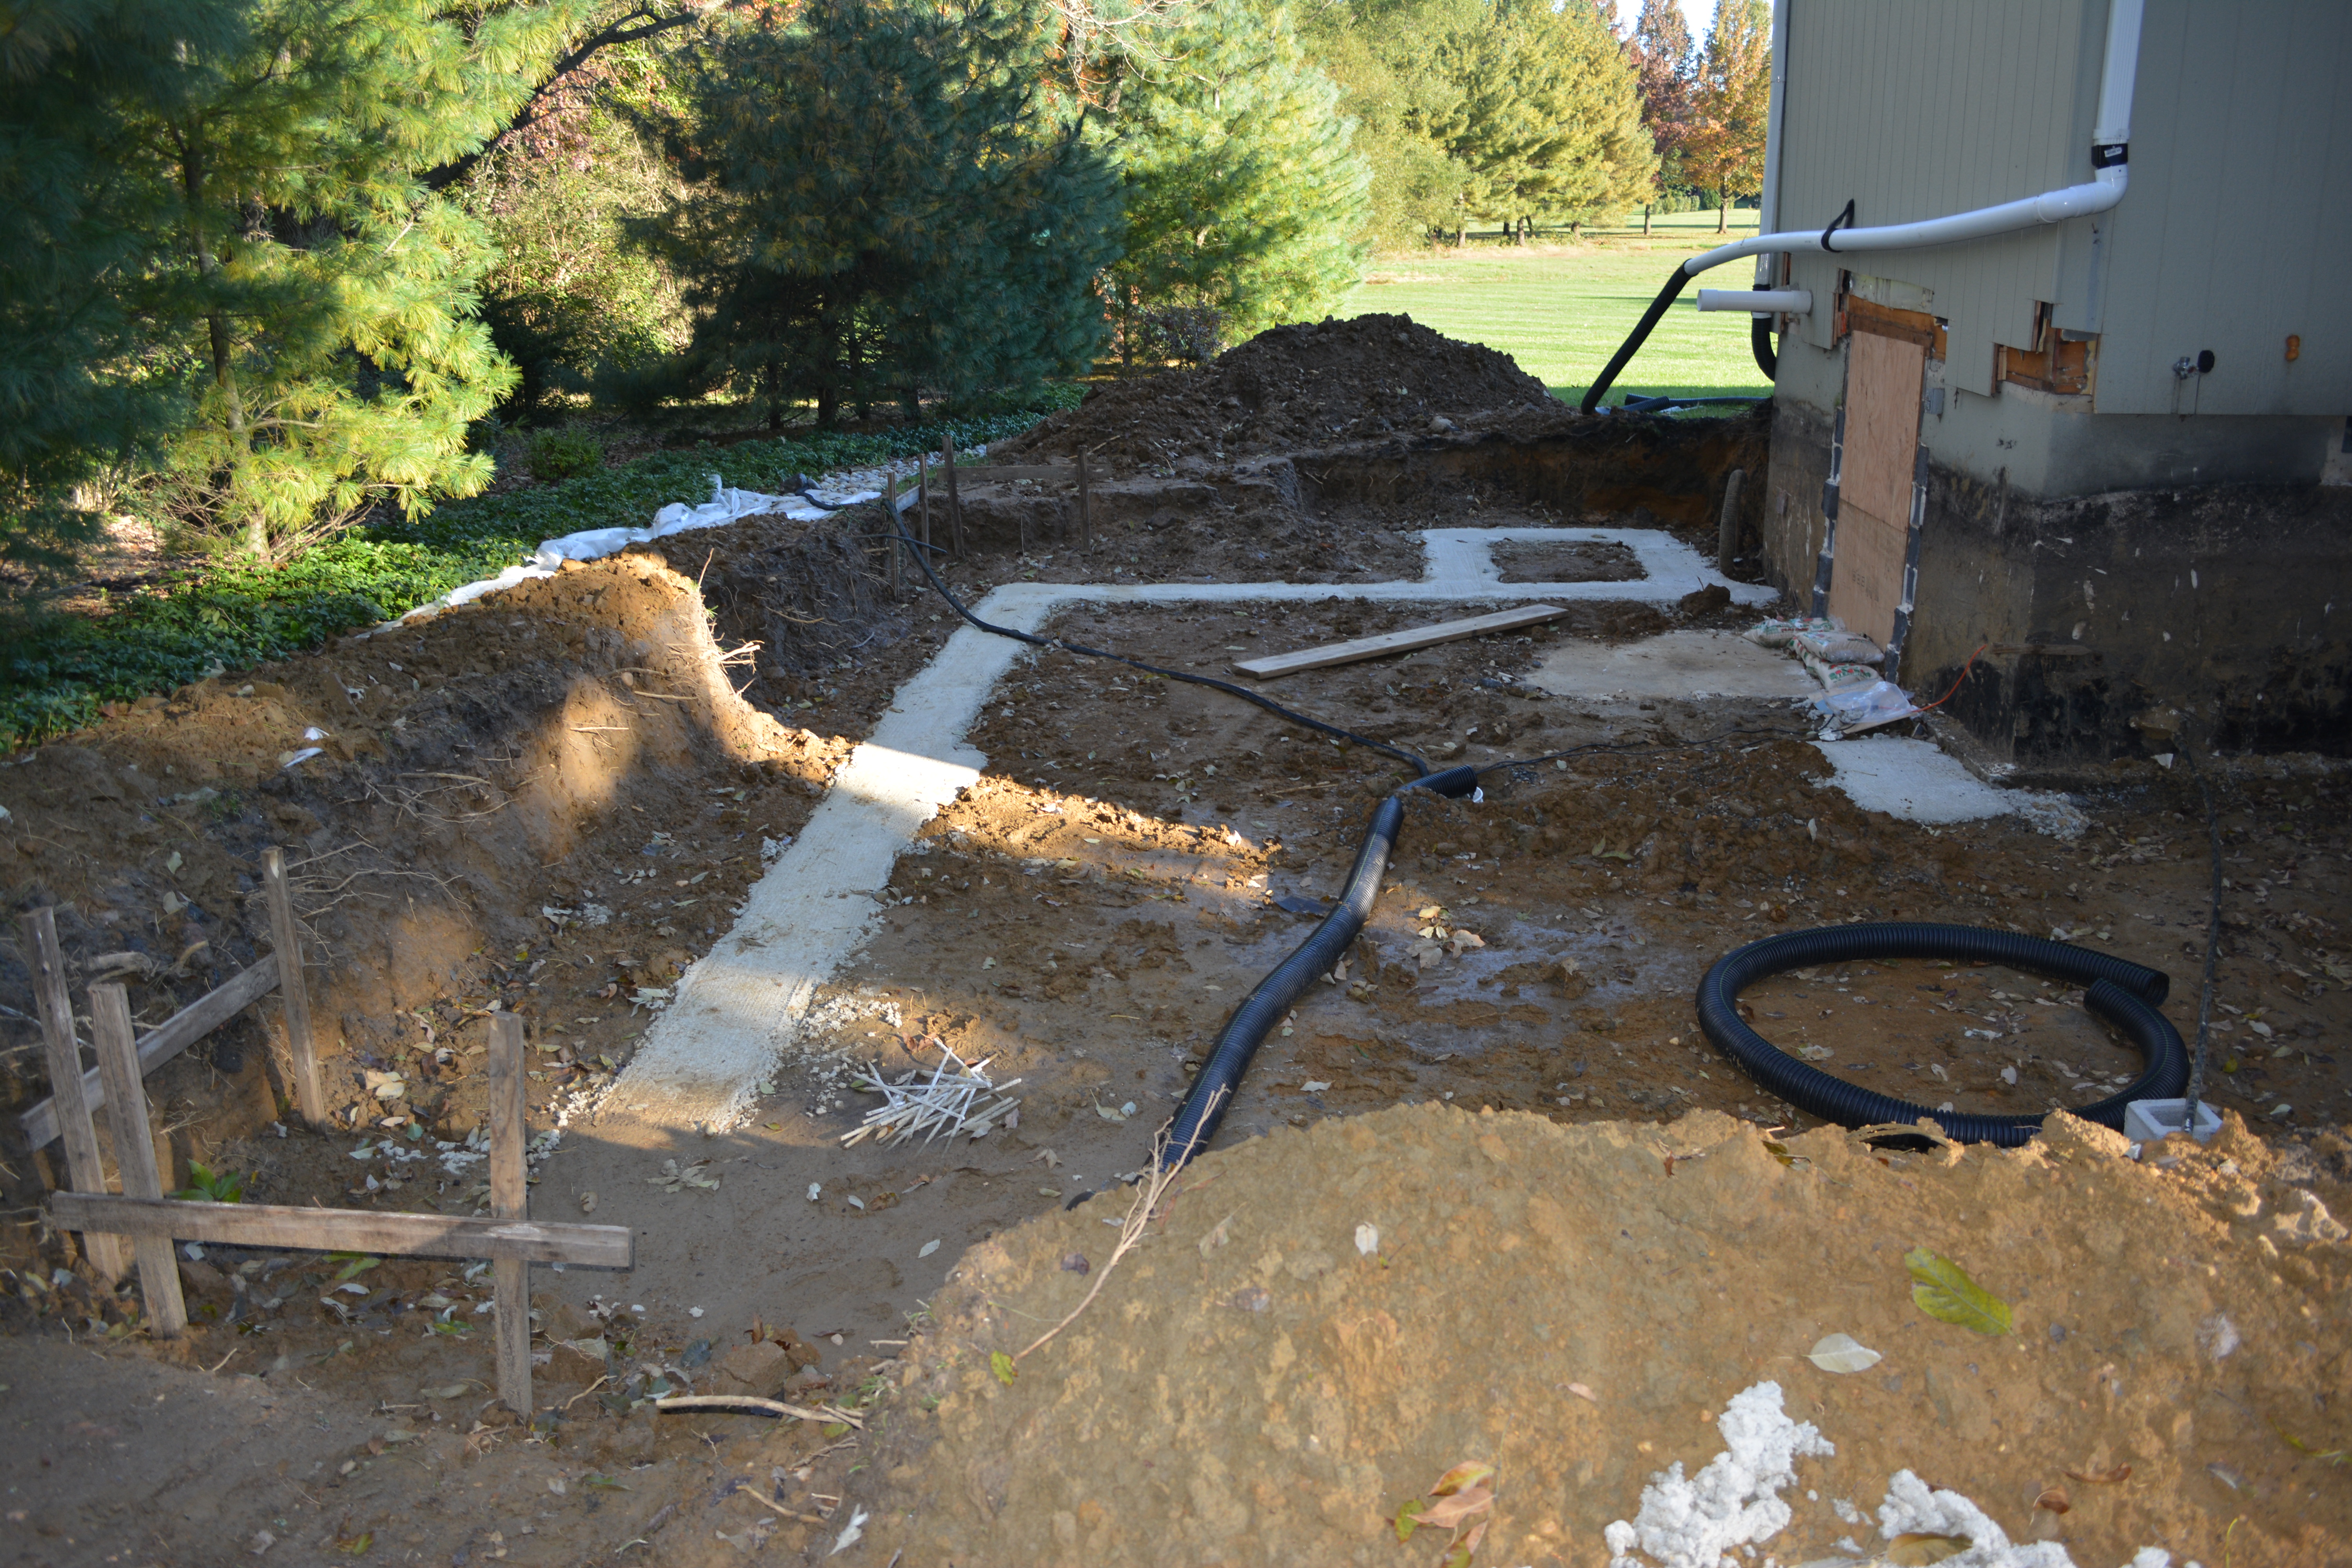
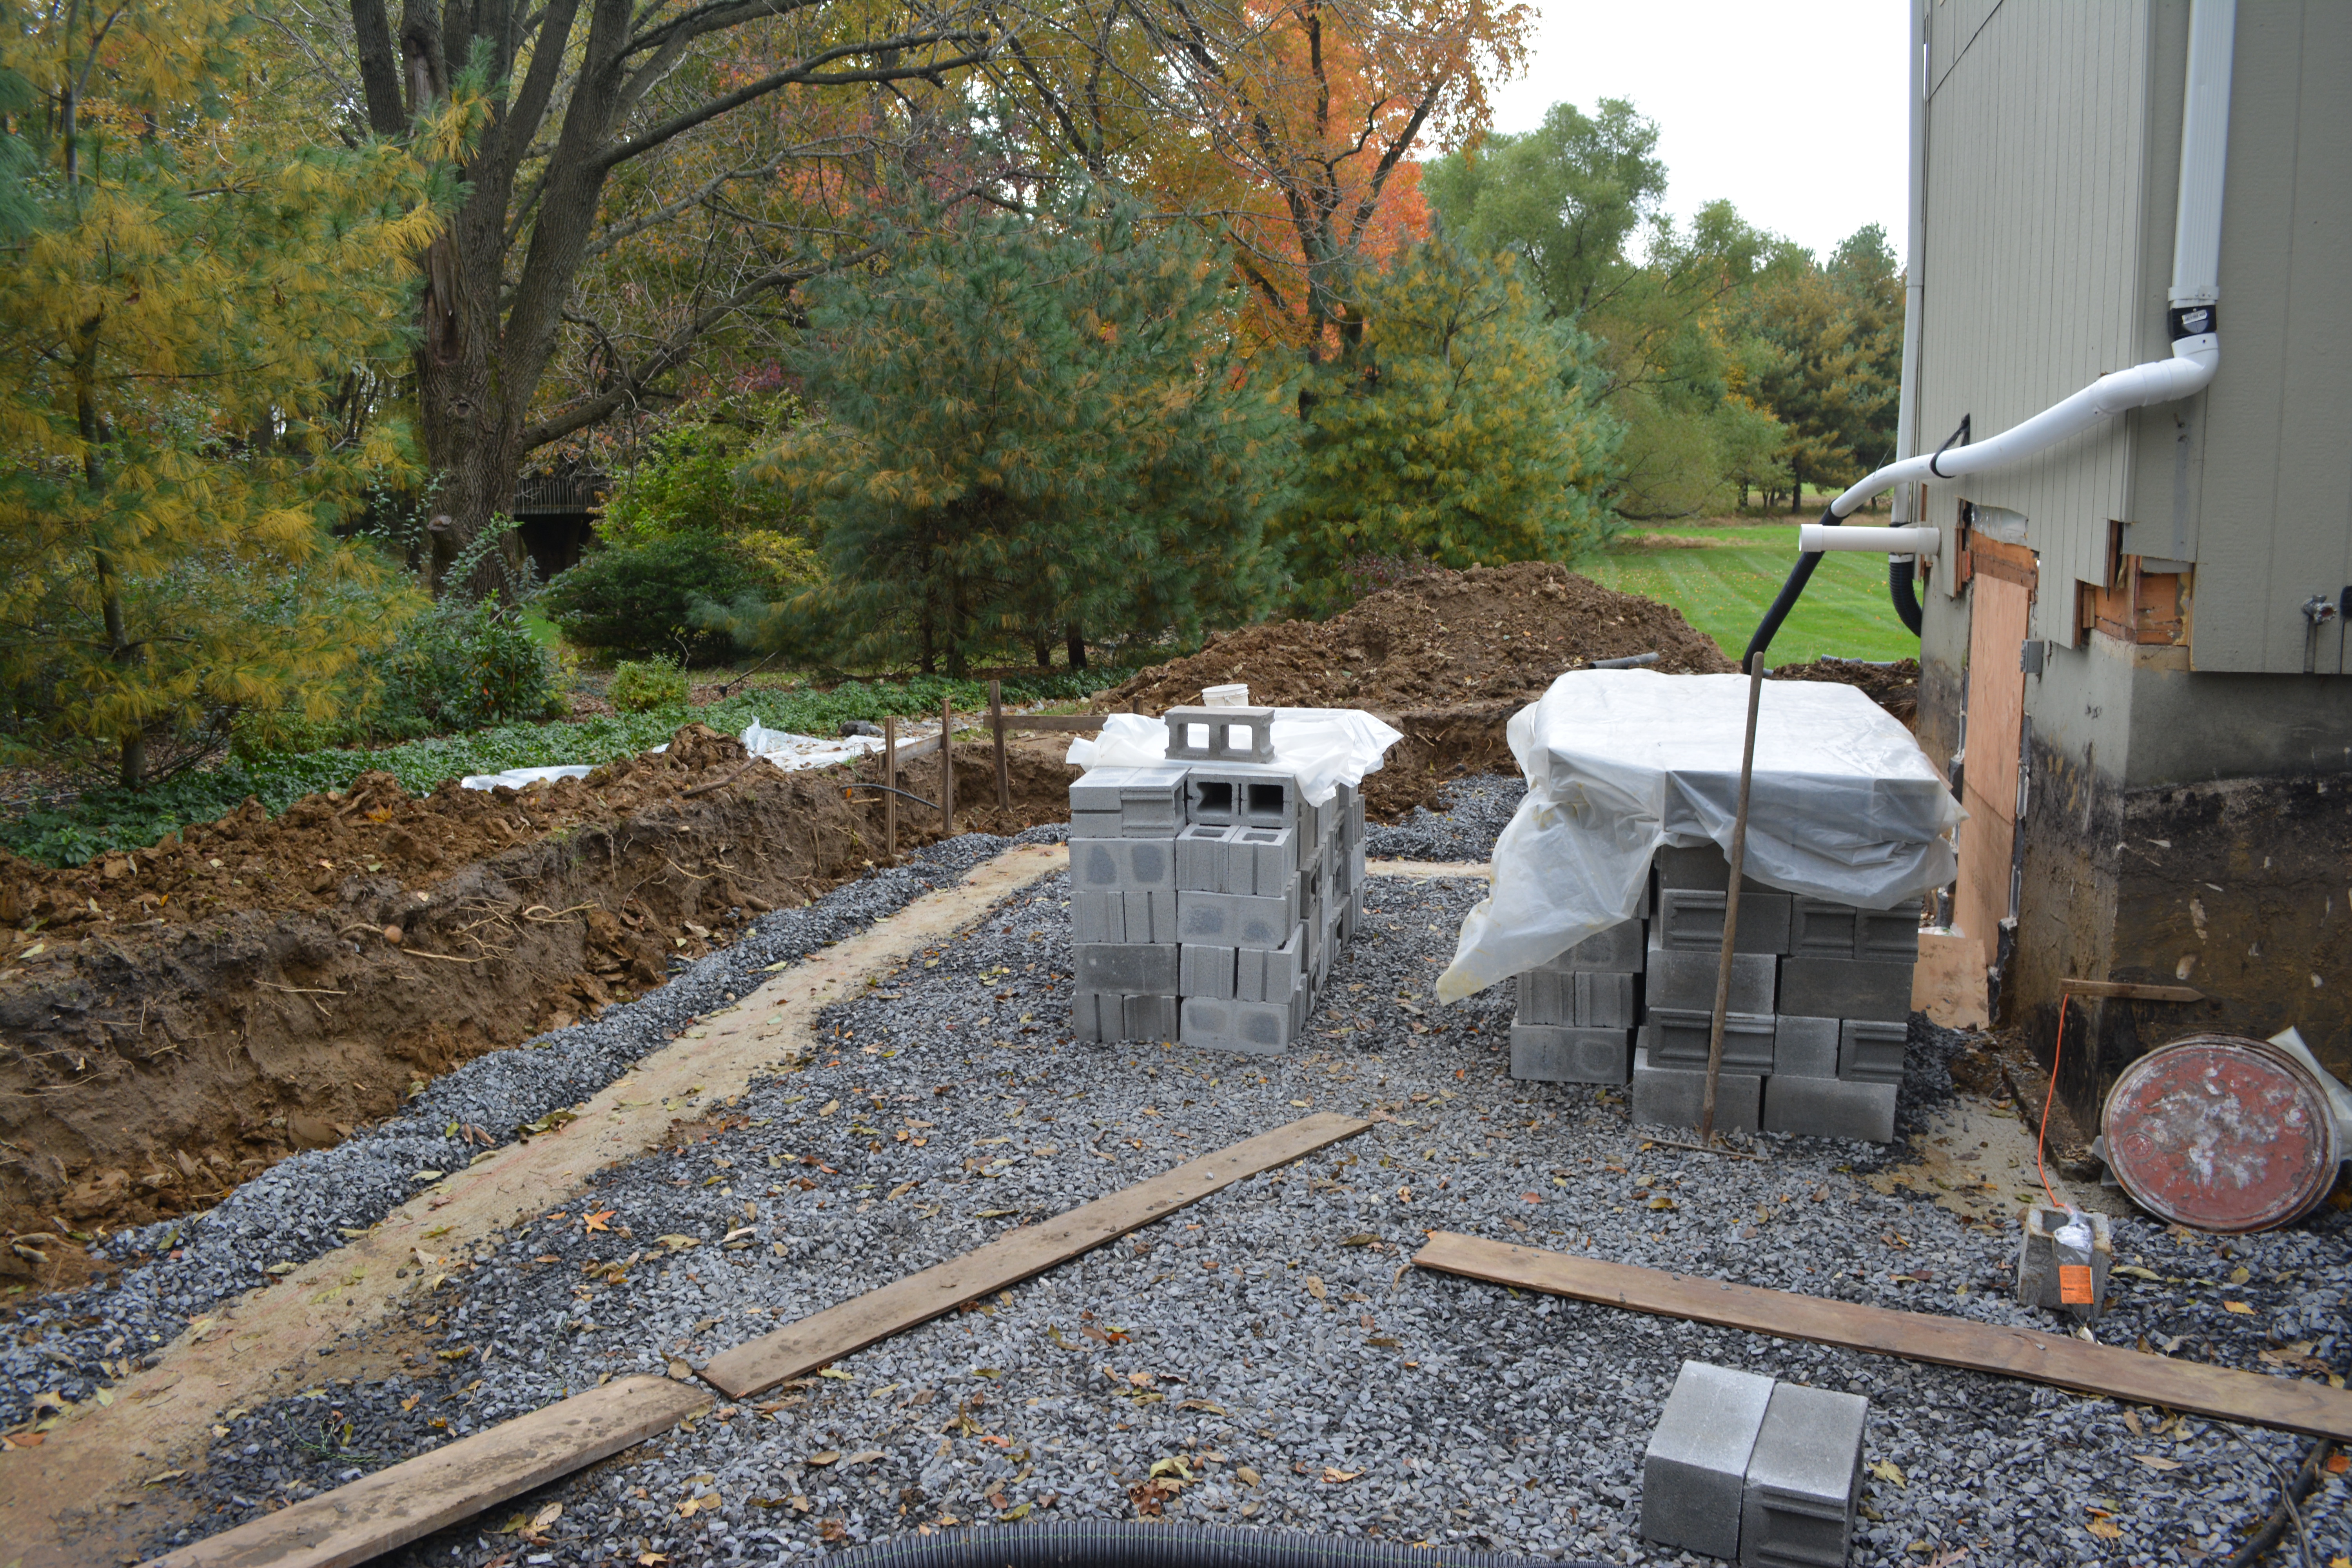
Pouring Concrete Footings – The footers are positioned below the frost line and concrete is poured into 8”x16” troughs. A layer of gravel is added below the foundation to provide ample drainage. The blockwork has arrived and will be stacked on top of the concrete foundation.
Check back at www.rcraiglord.com/blogs for more blogs on this project from start to finish! You can also search our blogs for this project on our website under Moorestown or Addition.
About R. Craig Lord Construction Company: From bathrooms to kitchens, additions to whole house remodels, we have provided our clients with elegant, distinctive and award-winning work since 1980. We are a Design Build Construction company in Moorestown, NJ that services your South Jersey remodeling needs. For all your home remodeling projects, feel free to give us a call at (856)235-4237, or email us at info@rcraiglord.com.
